Posts

Showing posts with the label cooled

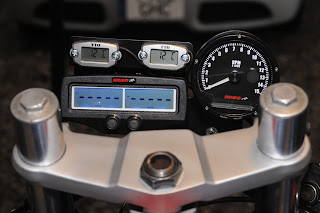
Getting really Forking fancy

Image
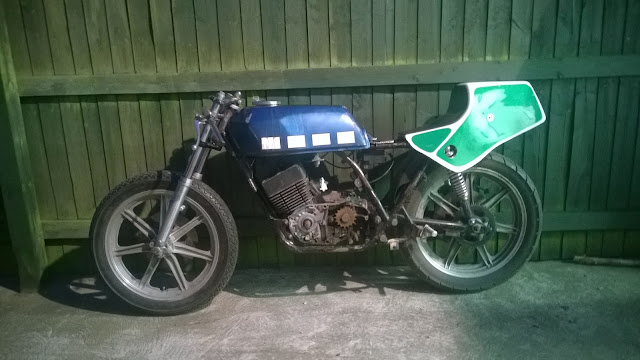
 When the front wheel is on the ground, I really didn't have too much trouble with the front end on the RD/TZ thing I was riding. The huge gun sight tubes sticking out of the headstock however were a little unsightly though so off I went to Classic Racing Green to see what he could do for me. Andy had talked about chopping my forks before but when I saw him this time he made short work of convincing me to upgrade the internals whilst I was there with top notch K-tech parts. The forks I have fitted to my RD are from a Yamaha FZR400 1WG. K-tech don't do an off the shelf set of cartridges for them but after a fair bit of measuring, Andy was able to specify and demand all the parts he needed to make them. Whilst we were there some fixed rate springs were ordered rather than cutting down my progressive springs and Andy's signature classic look top nuts were also made specially for these 38mm forks.  The parts took a couple of weeks to come together so whilst we wait...

Bits and bobs

Image
There is no shortage of little bits and bobs to do. Some are new, far too many are bits that dropped off or misbehave. Bobbins and friends Rear paddock stand bobbins have been sat in my RD250 parts box for a few months. I just didn't fancy welding nuts to my swing arm that was all. But I finally got that low on jobs and that fed up with the damage I was doing to my new shock bottoms, I ended up deciding to fit them. A suitable position was found and marked on the swing arm so I knew where the nuts would need to be welded on. To weld these nuts on I had to remove all of my electrics or remove my swing arm. So off came my swing arm, a surprisingly easy job to do. With the swing arm on my bench: I removed paint from the area I would weld and carefully tiged the nuts on. I had to take care as the nut would happily melt at 20 Amps but the swing arm needed more like 60. As such I heated the swing arm and carefully rocked up to the nut working plenty of rod in to real...

Winding the clocks back with a beefier bracket

Image
I liked my clock bracket but it clearly didn't want to hang around... Before I even hit the track: I didn't get to fit my EGT sensors so I removed the display as unneeded weight. On the practice run round Snetterton my tacho did not work and was head banging badly. It wasn't going to hang around and was surving no purpose so off it came too. By the end of the weekend the TTO section of the bracket was cracked half way across and leaving the old, thin, aluminium bracket looking very sad, after one race meet. New bracket time I decided on a steel box section bracket with the rather drastic approach of welding the existing factory tacho bracket directly to it. Due to its in built dampening, this would still provide the gauge with protection whilst bracing things much more firmly than the standard single bottom bolt. This put a lot of faith in my welding skills but things have moved on a bit and I'm not doing too badly at it now. I only welded the...

Going back to ignition

Image
Two things happened: My ignition didn't want to talk to my tachometer, Then my ignition decided to remove itself from my bike altogether, It was time for a new ignition. After the last round at Snetterton when the bracket you see on the left decided to suck and fall of, I was facing the dilemma of: Fix it with a new (and stronger) bracket, or replace the ignition system all together. Fixing would be fairly easy, I like the Femsa ignition for its classic design, very strong spark and so far reliability. But what if this happened again? The Femsa is old so how long could I expect it to last for anyway? And I'd like that shiny new tacho to work, which it didn't with the Femsa ignition? Well I did want a working tacho and took this as an opportunity to upgrade.  A couple of days later I was a few hundred quid lighter and had a new hpi ignition to play with. Everything was less bulky and obviously separate; so more like a modern bik...

A moment for our sponsors 2017

Image
It is only right that we take the time to thank our sponsors. This is in order to not only say thank you but to highlight to you the best companies who will go that extra mile to help us do what we do.  As a member of the Royal Air Force Motor Sports Association (RAFMSA) I share a group of loyal sponsors as well as one of my own. To all the people who make what we do possible, from the sponsors to the fans and our loyal brew makers in between: we are eternally grateful.  First of all I am very proud to say that R Tech welding equipment Ltd have chosen to sponsor me this year with some help towards the purchase of my superb R Tech AC/DC Digital 170 Amp Tig welder .  They couldn't have come through for me at a better time and for their help I am more than happy to ride with their brand emblazoned on my motorcycle and shirt. I was particularly drawn to them for being a very well spoken of British company who's sales staff were helpful, frank a...

Strip down, rebuild and then some

Image
quitly ignoring the fact that we have already looked at the engine rebuild, lets go back to stripping this thing and talk about some little bits. As I received her I had: A rolling bike with an engine and fuel tank. She lacked carbs, front brakes, throttle and a chain amongst many other little details. The previous owner had braised on foot peg mounts, ignition mounts, fairing mounts and had sourced a tail unit which saved me plenty of work but I still had a great deal to do and in not too much time. I stripped the bike right down to nothing which wasn't hard as the bike was basically tacked together. The frame had already been mostly delugged and didn't need much tidying up at all. After tidying what little needed doing; I rubbed the frame down and painted it matt black. This not only looks nice but it is also really easy to touch up when it gets scratched. For those parts that I wanted bare metal; I hit them with the sand blaster. The engine rebuild, If you ...

Engine remove, strip, rebuild, fit, repeat...

Image
This bike isn't going anywhere [fast] without an engine rebuild so in I went with a Haynes manual and a can of WD40. Before we get to into this: For those who don't know me this is not a step by step guide on how to strip and rebuild an engine. It is more a ramble about stuff I did interspersed with pictures. It is meant to be entertaining as well as filling in the gaps those hazy grey areas in the manual like to leave. f you want a step by step guide; go buy a manual. Stage one was to attack everything with the can of WD40 and stick the engine on my work bench (it was loose in the frame anyway. The next step was to close up the garage and go drink tea and play forza till I got good at racing (never happened). With a night to soak, things were a fair bit easier with no rounding off bolts which makes a pleasant change.  The heads and barrels are held on by some funky bolts and nuts respectively. Remove these in a pattern that doesn't stress things out then p...