May the force be with you

Reed all about it: I got me some Vforce 3 reads!
At $137 with manifold rubbers and some spare reeds they were an absolute steal so it would have been rude not to pick them up during a recent trip state side.
They were however: well used and in need of a clean so that was going to be my first job when I got them home.
 The reeds, stuffer blocks and cages are easilly seperated by pulling apart and witdrawing the centre reed holding pin.
Once apart I could give everything a thorough clean and inspect.
I found a few of the reeds were getting a bit fragile and worn on the edges so some of the spares were quickly swapped in for the dodgy reeds.

Once all was clean the reed blocks were reassembled.
Being Banshee reed cages they are a fair bit bigger width wise to the standard RD250D cages but seeing them drop into the inlet of a spare YPVS engine reassured me they should fit knowing others ran with YPVS reeds in their bikes. Things would need modifying but it was possible.

The size difference was quite clear when I pulled my standard air cooled reed cages (with carbon reeds) from my bike.
As the inlet slightly tapers on the outside diameter of the barrels inlet; we agreed I should use a spacer to reduce the amount of machining required. I ordered these from Adrenalin 2 strokes rather than make my own as I am lazy and they are very well priced anyway. They needed a bit of machining themselves but the bolt spacing was right and effort required was minimal.

Next off came the a lot of aluminium as I machined the outside faces of the inlets out to take the new reed cages.
I marked out a rough line using the spacer as a template. Then I used a a Dremel with a flexible cable drive and a selection of routing burr bits to grind away approximately 2mm from both faces.
This left very little material so extreme caution was taken not to eat my way out of the casing.
 Once the bulk of the material was gone I slowly pushed out, checking fit regularly.
Every time I test fit the reed blocks they left a black mark where the aperture was too tight. This would be machined back and flatted before trying again and so on.
This continued till the reed blocks fitted with a spacer comfortably. I then went over everything with a sanding wheel to smooth the inlet back out.
Once I was happy everything would fit I cleaned out the barrel with an air compressor, wipes and alcohol to ensure everything was swarf free
before reassembly. The inlet was assembled with supplied Banshee gaskets under the reed cages and cut back RD250 gaskets (I have loads spare) under the spacers. The inlet rubbers have a gasket built in so none needed there.

Rather than butcher these rubbers I just went back to the old RD rubbers, which having the same bolt pattern, fitted perfectly.
With the bike reassembled I organised with a friend to get the bike on our dyno for a quick run up to check all was well. I stuck a jet two sizes larger as a precaution for its first run and gave the bike one last glance over.


Which is where I found some sky where there shouldn't be.
Turns out my chassis had cracked at Donington just above the front engine mount bracket.
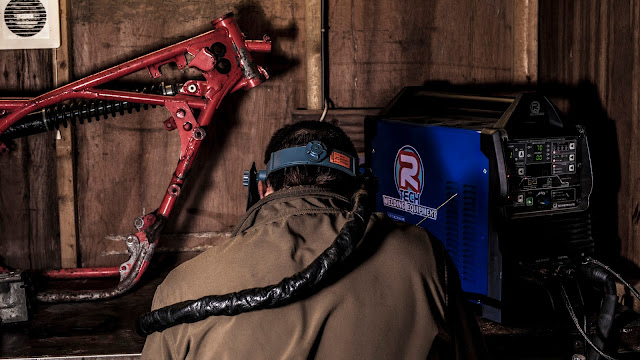
The dyno got canceled and I got to welding.
Naturally as I removed the ignition to make it safe to weld I found one of the two brackets had snapped off so welded that too.
Some paint and a rebuild later and I was ready to head to the dyno again.
This time the van broke down on the way there shredding a drive shaft.
I'm just going to assume the bike is running fine...


Comments
Post a Comment