Stay now

Post Mallory park, I had a problem:
The bike hadn't broken and I didn't know what to do with myself...
...Time to sort out some of those little niggles.

Apart from being a ticking time bomb of fragility, they also get right in the way of my knees.
As a result the fairing was starting to suffer and I was constantly conscious that I might knock one off, ending my racing weekend.
I decided to copy a bracket idea I had seen on another bike using some 12mm steel bar and 20mm box section. Ideally I have used tube but nobody local to me stock any and I wasn't going to wait for a delivery.
The bar was cut to length, drilled on either end and tapped for an M6 bolt. I made sure to drill as deep as the bit would allow in order to reduce weight as best I could. This bracket was going to be a lot heavier than what I was replacing.
The bar was test fitted and markings were taken for where the box section arms would go.

This was then cut again as I clearly cannot use a ruler.
Once I had finally got the length right I drilled a hole in one end to take an M8 bolt and cut a radius in the other to marry up to the bar. All edges and corners were then radiused to reduce stress raisers, likelihood or injury to me and promote adhesion of paint later.

The tops of the box section arms could now be leveled off, so the bar sat level and straight, with the aid of a spirit level and a dremel.
Once this was done I tacked the parts together and did a test fit.
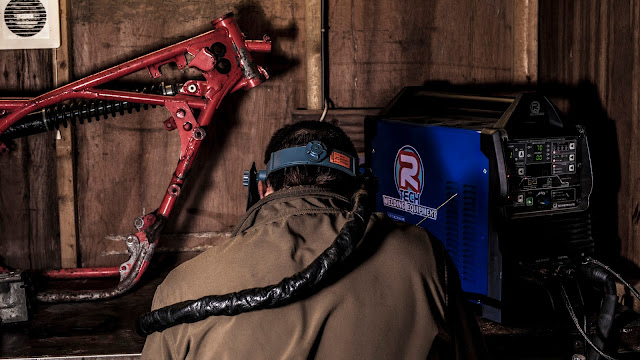
When I was happy I had actually got this right I welded everything up properly with the tig set to DC 70 Amps which did the trick.
I did try to weld some washers to the end of the bar to reduce fairing removal/refit faff but ended up blowing a hole in the washer just as I was finishing thanks to my own impatience. Whilst removing the damaged washer I noticed the thread inside was suffering with the heat so I opted to not try that again as i didn't fancy making another bracket again. So when everything was cool enough I brushed the new bracket down and painted it black.
After a few more coats and a bit of time gardening I fitted the new bracket with some large penny washers on the ends to spread the load on the fairing.
After Cadwel parks CRMC meet in June, if this bracket proves to be successful, I will cut off the old lugs to buy some weight back but I have to say this is a lot tidier!


Comments
Post a Comment