Going back to ignition

Two things happened:
My ignition didn't want to talk to my tachometer,
Then my ignition decided to remove itself from my bike altogether,
It was time for a new ignition.

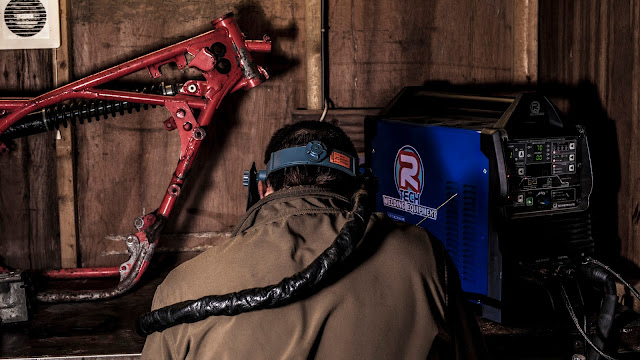
After the last round at Snetterton when the bracket you see on the left decided to suck and fall of, I was facing the dilemma of:
Fix it with a new (and stronger) bracket,
or replace the ignition system all together.
Fix it with a new (and stronger) bracket,
or replace the ignition system all together.
Fixing would be fairly easy, I like the Femsa ignition for its classic design, very strong spark and so far reliability.
But what if this happened again? The Femsa is old so how long could I expect it to last for anyway? And I'd like that shiny new tacho to work, which it didn't with the Femsa ignition?

Well I did want a working tacho and took this as an opportunity to upgrade.
A couple of days later I was a few hundred quid lighter and had a new hpi ignition to play with.
Everything was less bulky and obviously separate; so more like a modern bike that I am more used to, which is a good thing.

The Femsa ignition was removed carefully to be sold on to the next owner.
As this was a very different design of ignition coils and CDI's, I was going to have to mount things very differently too.
The rotor and stater however were a fairly simple fit as they are designed for a TZ350 which shares the same crank design as my early RD250 one.
One thing which confused me for a moment was that the stater fits upside down on the RD's cases. This isn't a problem however as you just run the rotor with no key. I wasn't very keen on this at first but I was assured this is how this ignition is designed to run so time will tell.
Timing is a bit different to a standard RD with a huge advance set on the markers which the CDI retards by some 20 degrees through the rev range! This should be very interesting.
With the rotor and stater fitted

The tricky part was to follow with mounting the CDI's and coils.
I decided to kick the battery out from its under tank home and make use of the brackets that are there for the coils.
The CDI's would then fit nicely in the head stock cavity.
Of course when you are offering up things this looks dead simple but picking up holes is tricky in a space like that. I didn't fully account for the bulk of the boxes so my first attempt wouldn't work but I managed to save things without turning this bracing into Swiss cheese.
With holes drilled; all I needed to do was stick a nut and bolt through them. Again easier said than done!
As you can see on the right; my solution was to glue the nut to the CDI then carefully thread the bolt in blind before getting something on the nut to stop it spinning as I torqued the bolts down.
This was an ass pain but I won in the end.


As things falling off and loosing my ignition system was fresh in my mind: I also ran an earth lead from my ignition coils to the engine casing.

Now all that was left was to plug all of the wires together along with my tacho in line with the coil pack. A little tidy up and tie wraps here and there and I was done.
The relocated battery fits nicely behind the bracing of the top frame so is still under the tank. I was going to need to play with the wires for that anyway for the new clock bracket but that was a job for another time.


Comments
Post a Comment